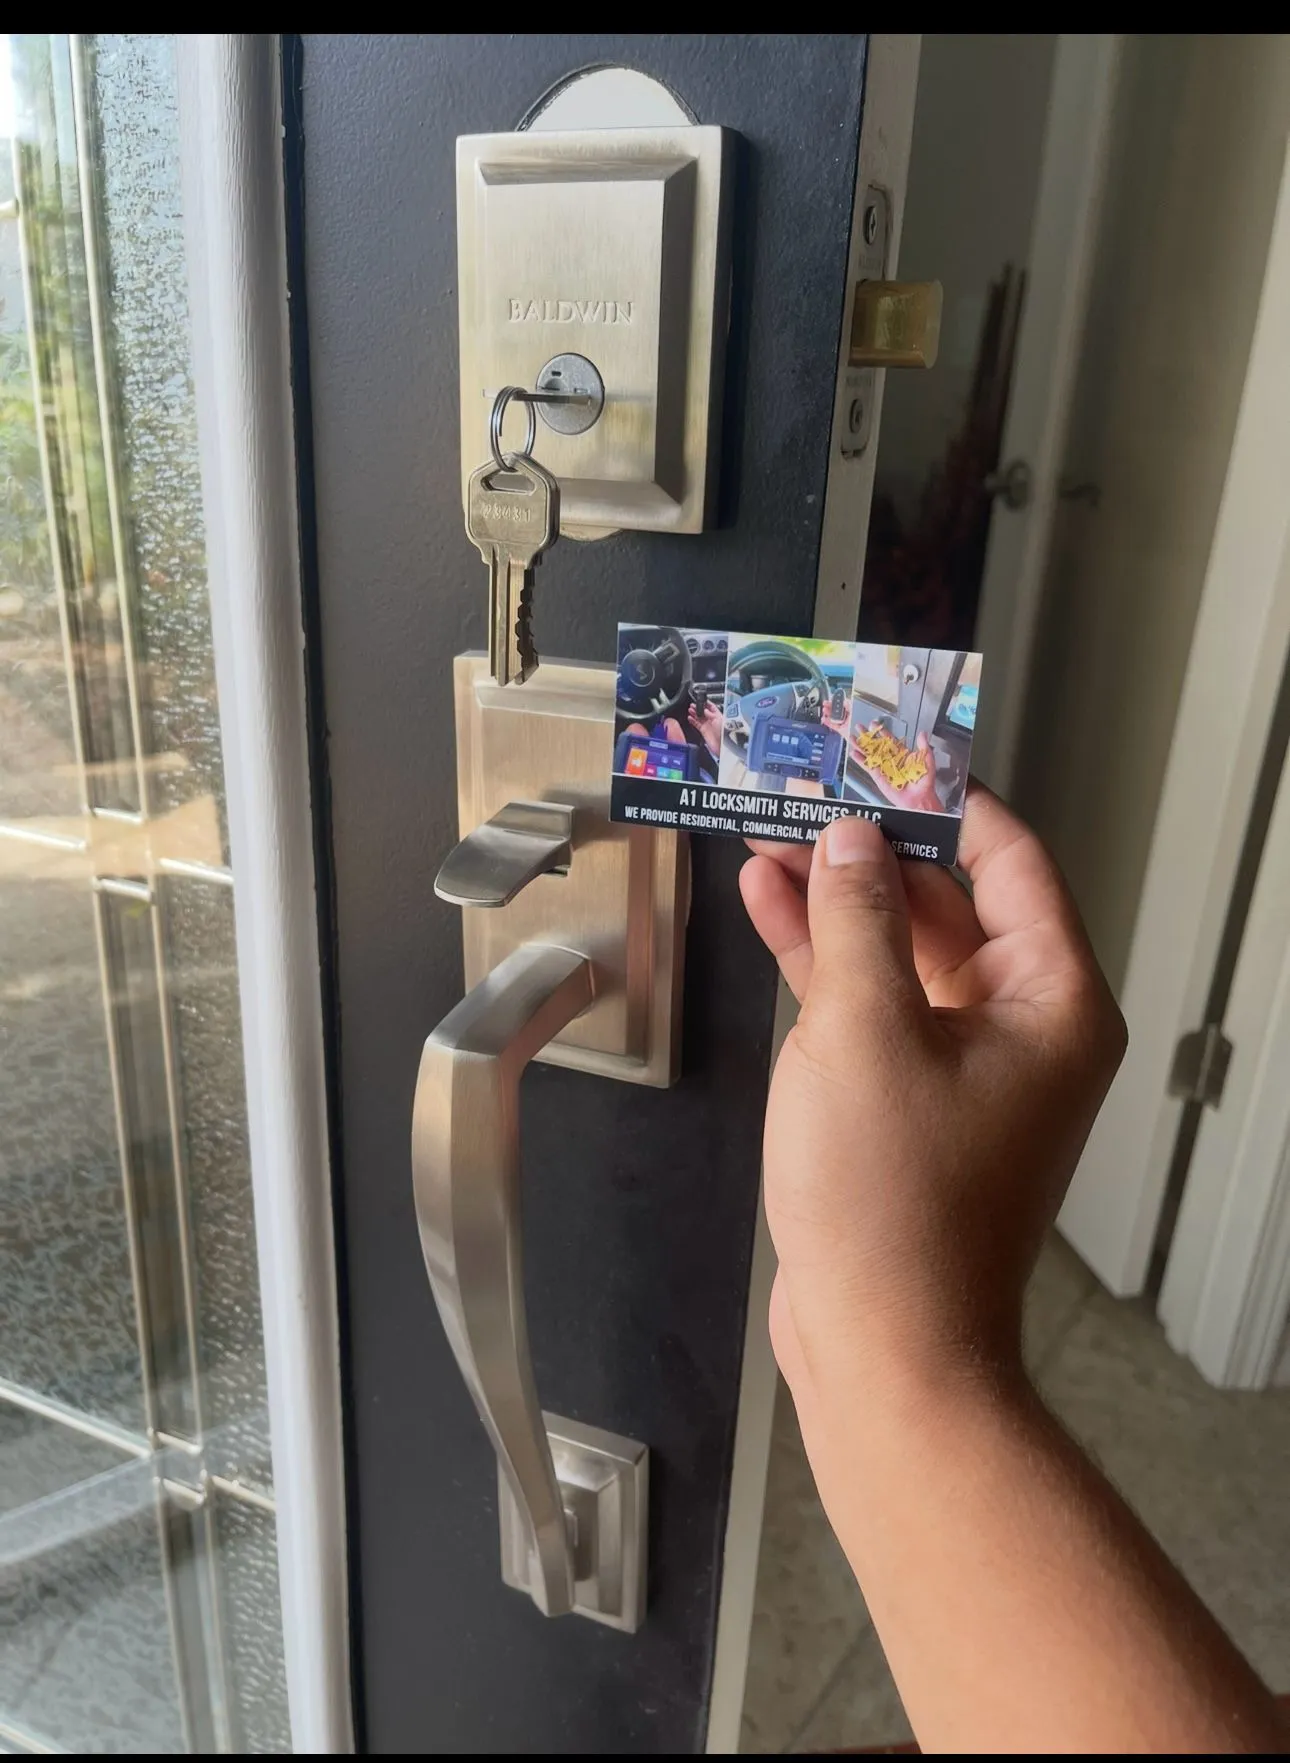
Replacing the fly screen door lock is simple: remove the screws, slide out the old lock, align the new lock, and secure it tightly. Homeowners often face this issue since locks endure daily use. Lock replacement is a common fix for many households, as studies show that door hardware problems account for nearly 35% of standard household repair calls, which makes this a frequent concern.
That frustration grows when the lock rattles, jams halfway, or refuses to close. Each failed attempt to secure the door increases stress and risk, and ignoring it can also damage the frame. What appears to be a minor issue soon becomes a costly problem.
The solution is straightforward. By following a DIY troubleshooting approach, you can quickly replace the lock, restore smooth function, and avoid service costs.
Tools and Materials Needed
- Screwdriver (typically Phillips or flathead, depending on lock)
- Replacement fly screen door lock (bring old lock to match size and type)
- Screws (often come with the new lock)
- Small flathead screwdriver or pick tool (for removing cylinder)
- Optional: drill with screwdriver bits (if screws are tight)
- Safety gloves and glasses for protection
Steps to replace the fly screen door lock
Replacing a fly screen door lock may seem difficult at first, but it’s easier than expected. Follow these five clear steps to remove the old lock and install a new one with confidence.
Step 1: Preparing for the Replacement
First, measure your existing lock or take it to your local hardware store to find an exact match. Clear the area and have your tools ready. Open the door fully and make sure the working space is stable.
Next, measure the backset (the distance from the edge of the door to the keyhole or spindle centre), the cylinder lengths from the fixing screw to each end, and the door thickness. The cylinder should not protrude more than about 5 mm. Confirm the lock type and profile, since screen doors often use oval cylinders that may not match Euro cutouts or cams. Put safety first by wearing gloves and eye protection when drilling or prying.
Step 2: Remove the Old Lock
Start by unscrewing the interior faceplate screws on the fly screen door using your screwdriver. Gently remove the outer cover, then unscrew any lock body screws inside the door frame.
Before undoing everything, mark the latch’s contact point on the strike plate with lipstick or chalk. This gives you a reference for alignment later. After that, locate the small screw that holds the cylinder in place and release it with a thin, flathead screwdriver. Pull the cylinder straight out, then remove the lock body and hardware.
Statistics show that 60% of homeowners did not use a contractor for their home remodelling projects in 2022, which is a clear reminder of why removing and replacing an old or worn lock with care is so essential for maintaining security.
Step 3: Prepare the New Lock
Unpack your new fly screen door lock and compare it with the old one to confirm the correct size and setup. Assemble the lock parts by following the manufacturer’s instructions.
At this stage, dry-fit the lock body and set the correct handling, as many screen door locks (such as Tasman MK2) have reversible furniture for left or right openings. Orient the cylinder cam toward the strike and select the proper fixing screw length during assembly to avoid binding.
Step 4: Install the New Lock
Fit the lock body into the door cutout and align the screw holes with the existing ones, if possible, to avoid the need for extra drilling. Secure the lock body with screws that are snug but not overtight, as thin aluminium can strip threads.
Then, insert the cylinder and secure it with the locking screw to keep it stable. When fitting a 3-point kit, ensure the rods run smoothly inside the channels and engage simultaneously with the primary latch. Attach the faceplates and handles, checking that all parts sit flush and move evenly.
Step 5: Test the Lock Functionality
Once the lock is in place, close the fly screen door and test it by turning the key or handle. Check that it locks and unlocks without resistance.
From here, cycle the lock 20–30 times and adjust the door closer’s main and latch speed so the last 6–12 inches pull the latch firmly into place. Lubricate the keyway with a dry PTFE or graphite-type product. Avoid oil sprays like WD-40, as they attract dust and can clog the mechanism. Proper alignment and care ensure smooth use and lasting security.
Troubleshooting Tips
Check the lock dimensions and type again to ensure a proper fit. The strike plate might need adjustment or replacement to match the latch. Clearing debris from the lock cavity or sanding rough edges can also improve alignment. For screws that do not line up with the old holes, drill new ones carefully and keep them precise.
Changing the Door Lock Cylinder
Damaged or loose cylinders often make doors hard to secure, leaving homeowners frustrated and worried about safety. Replacing the cylinder is a straightforward solution that restores smooth operation and enhanced protection.
The replacement process involves removing the worn cylinder and installing a new one that is compatible with your lock type. For a complete step-by-step breakdown, check our full guide on how to change a door lock cylinder.
Get Expert Help on How to Replace Fly Screen Door Lock
Broken fly screen door locks often cause jammed handles, loose latches, and daily frustration for homeowners. With A1 Locksmith Services LLC, the fix is simple. Our locksmiths handle how to replace fly screen door lock services with accuracy, keeping your door secure and easy to use.
Serving Riverview, Apollo Beach, Sun City Center, Ruskin, Brandon, Valrico, Dover, Seffner, and Gibsonton. We’re the trusted team for fast and reliable lock replacements. Contact us today and get professional help that restores both safety and peace of mind.


